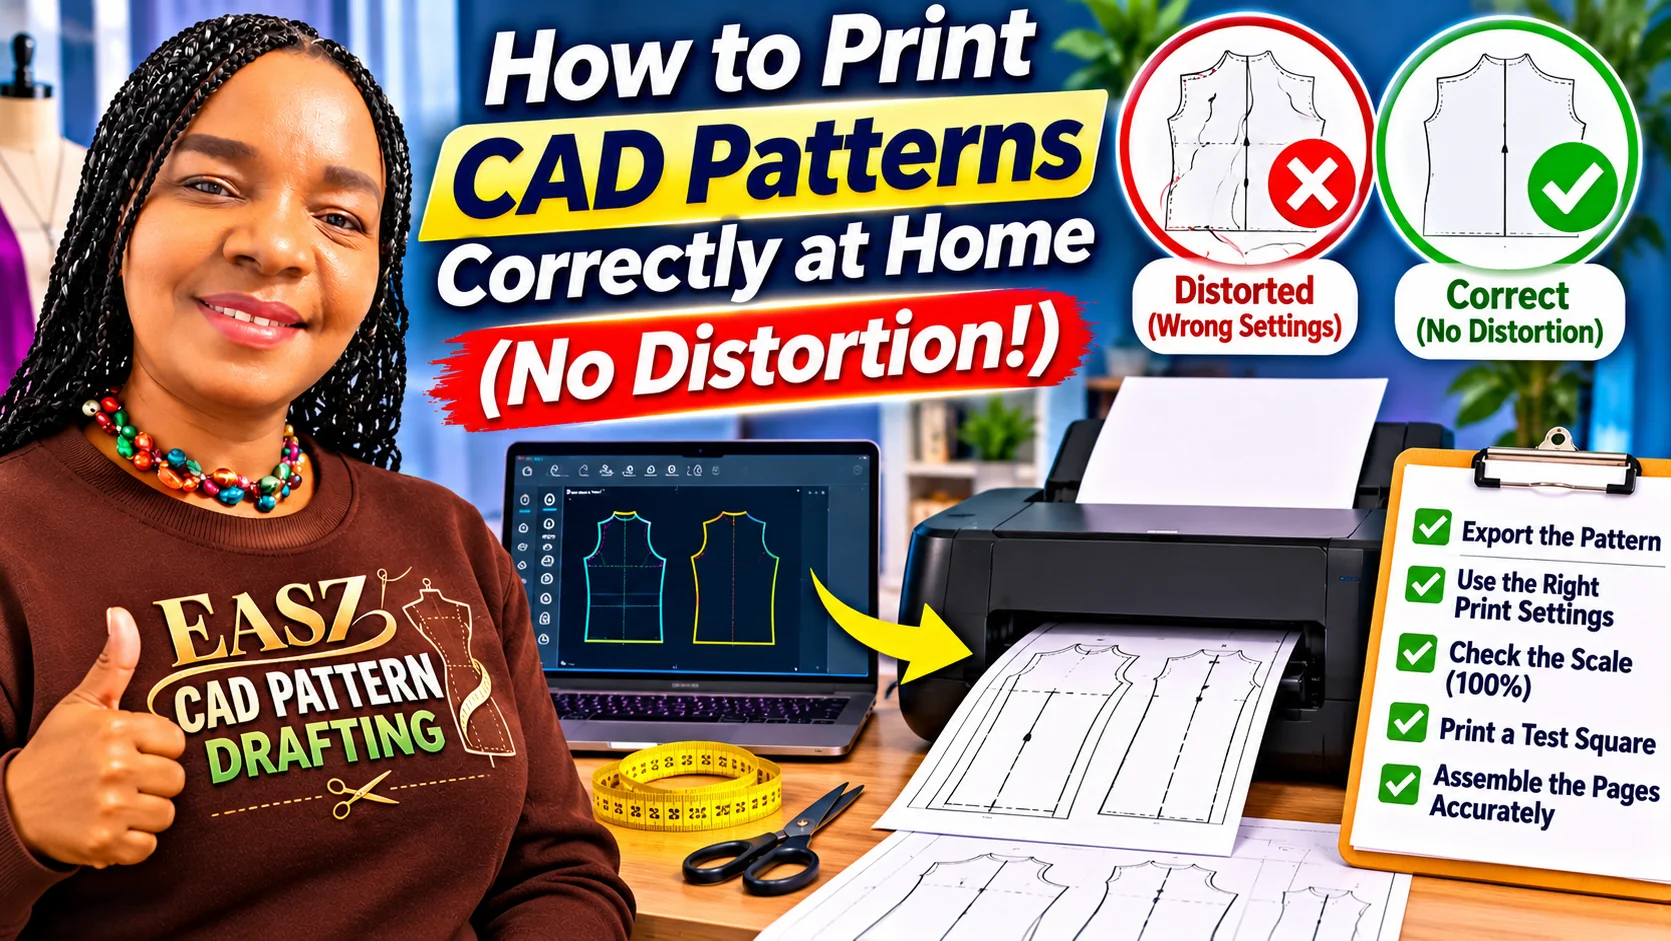
How to Print CAD Patterns Correctly at Home (No Distortion!)
That Time My Sleeve Cap Was Three Inches Too Tall…
I still remember the first time I printed a CAD pattern I had drafted in Seamly2D. I was so proud of myself. Weeks of learning, tweaking curves, getting the seam allowances just right. I printed it out, taped the pages together, cut my fabric — and sewed the most structurally ambitious sleeve cap that has ever existed on a human shoulder. It was enormous. Dramatic. Completely unwearable.
The pattern wasn’t wrong. The printing was.
If you’ve ever been there — or you’re just getting started with CAD pattern drafting and want to avoid my mistakes — this post is for you. I’m going to walk you through exactly how to print your CAD patterns at home, distortion-free, every single time. No plotter required.
Why Printing Goes Wrong (And Why It’s Not Your Fault)
Before we fix the problem, let’s understand it. When you export a CAD pattern from a program like Seamly2D and send it to your home printer, a few sneaky things can happen:
- Your printer scales the document to “fit the page” — trimming or shrinking your pattern without telling you.
- Page margins eat into your pattern — the printable area of most home printers is smaller than the actual paper.
- PDF viewers like Adobe Reader or the browser add their own scaling — even 1–2% distortion will throw off a 20-piece dress pattern significantly.
- Tiled pages don’t align — if your pattern spans multiple A4 or letter-size sheets, misalignment adds up fast.
None of this is a flaw in your drafting. It’s just the gap between screen size and paper reality — and once you know how to bridge it, you’ll never have a rogue sleeve cap again.
What You’ll Need Before You Print
Here’s a quick checklist of what to have ready:
- 🖨️ A home inkjet or laser printer (A4 or US Letter)
- 💻 Seamly2D (free, open-source CAD pattern drafting software) — or another CAD tool that exports PDF
- 📄 Adobe Acrobat Reader (free) — this is the most reliable PDF viewer for accurate printing
- 📏 A ruler (cm or inches — whichever your pattern uses)
- ✂️ Scissors, tape or glue stick for assembling tiled pages
- 🔲 A cutting mat (optional but helpful)
Step 1: Export Your Pattern Correctly from Seamly2D
Seamly2D is wonderful for home sewers because it’s free, community-supported, and designed with real garment construction in mind. But the export step is where many beginners trip up.
Here’s how to export properly:
- Open your pattern in Seamly2D.
- Go to File > Export (or use the Layout tool to arrange your pattern pieces).
- In the Layout section, choose your paper size — A4 for most of the world, Letter (8.5″ x 11″) if you’re in the US.
- Set your margins to the minimum your printer allows (check your printer specs — often 5mm or 0.2″).
- Choose PDF as your export format.
- Make sure “Scale to fit page” is OFF — you want 1:1, true-size output.
- Save your PDF somewhere easy to find.
- YOU CAN ACTUALLY WATCH THE PROCESS HERE
💡 Tip: Seamly2D includes a built-in test square (a small calibration box, usually 10cm x 10cm) on the first page of exported patterns. This is your best friend — always print it first!
Step 2: Open the PDF in Adobe Acrobat Reader — Not Your Browser
This is the single most important step most beginners skip.
Do not open and print your pattern from:
- Chrome or Firefox (built-in PDF viewers scale to fit by default)
- Windows Photos or Preview on Mac
- Microsoft Edge PDF viewer
Always use Adobe Acrobat Reader. It’s free to download and gives you precise control over print settings.
Once your PDF is open in Acrobat Reader:
- Go to File > Print.
- Under Page Sizing & Handling, select “Actual Size” (sometimes labeled “None” or “100%”).
- Do not select “Fit,” “Shrink oversized pages,” or “Scale.”
- Confirm the scale reads 100%.
- Click Print.
Step 3: Print Your Calibration Square First — Always
Before you print a 15-page pattern, print just page 1 (the test/calibration page).
Take your ruler and measure the test square printed on the page:
- It should measure exactly what it says — usually 10cm x 10cm or 1″ x 1″.
- If it measures 9.7cm instead of 10cm, your printer or PDF viewer is scaling down.
- If it measures 10.4cm, something is scaling up.
If your calibration square is off:
- Go back to Acrobat Reader’s print settings and confirm “Actual Size” is selected.
- Check that your paper size in the print dialog matches your exported PDF size (both A4, or both Letter — don’t mix them!).
- Try a different PDF viewer if problems persist.
Only when your test square measures perfectly should you print the full pattern.
Step 4: Print and Assemble Your Tiled Pages
Most home-printer patterns print across multiple sheets that you tape together — this is called a tiled or multi-page layout. Seamly2D handles this automatically when you use the Layout export.
Tips for clean assembly:
- Each page should have crop marks or overlap guides in the corners — use these to align pages precisely.
- Trim the right and bottom edges of each sheet along the crop marks before taping (leave the left and top edges with their full margins).
- Use a light table or a sunny window to help align overlapping pages before taping.
- Tape on the back of the paper with low-tack or paper tape — masking tape works great and doesn’t distort the paper.
- Work row by row, left to right, assembling the full sheet before moving on.
- THIS YOUTUBE VIDEO WILL SHOW YOU HOW TO PUT TOGETHER YOUR PDF PATTERN
💡 Tip: Number your pages before you start assembling — Seamly2D usually exports pages with row/column references (like A1, A2, B1, B2). Write these lightly in pencil so you always know where each sheet belongs.
Step 5: Do a Final Measurement Check Before You Cut
You’ve assembled your tiled pages. Now — before you pick up the scissors — take two minutes to measure key areas of your pattern against your original drafted measurements.
Check:
- Bodice length (nape to waist, waist to hem)
- Bust width across the front bodice piece
- Sleeve length
- Seam allowance width (if included — should match what you set in Seamly2D)
If everything matches, you’re golden. Cut away!
Common Printing Problems & Quick Fixes
| Problem | Likely Cause | Fix |
|---|---|---|
| Pattern is slightly too small | PDF viewer scaled to fit | Use Acrobat Reader → Actual Size |
| Pattern is too large | Wrong paper size selected | Match PDF export size to printer paper size |
| Pages don’t align when taped | Margins not trimmed before assembling | Trim right/bottom edges at crop marks first |
| Lines are blurry or faint | Low print quality setting | Set printer to “High Quality” or “Best” |
| Some pieces are cut off | Margins too wide | Reduce margins in Seamly2D export settings |
A Few Extra Tips for Home Sewers Using Seamly2D
- Use the “Details” mode in Seamly2D before exporting — this shows you how each pattern piece will actually lay out on paper, so there are no surprises.
- Label your pieces in Seamly2D before export. Piece names, grainlines, and notches should all be visible on the printed sheet — saves enormous time during cutting.
- Save your PDF with a version number (e.g.,
bodice_v3_final.pdf) so you always know which version you printed from. - Store your assembled patterns flat in a large envelope or folder. Rolling them causes distortion the next time you trace from them.
- If you’re printing large pattern pieces (like a full skirt circle or a long coat), consider printing at a copy shop on A0 or A1 paper — far less assembly required!
You Don’t Need a Plotter to Get Professional Results
Here’s what I want you to take away from all this: you absolutely can draft and print professional-grade CAD patterns from home, on a regular printer, without expensive equipment. Seamly2D gives you the drafting power; understanding your PDF export and print settings gives you the accuracy.
The learning curve feels steep at first — I know, because I lived the giant sleeve cap era. But once you’ve done it correctly once, it becomes second nature. You’ll start to feel that quiet confidence of knowing your printed pattern is true-to-size before you even cut your fabric.
Your Next Step
If you haven’t already, download Seamly2D for free at Seamly2d and try drafting a simple skirt block or bodice. Export it to PDF, print your calibration square, and measure it. That small win will tell you everything is set up correctly — and you’ll be ready to sew from your very first CAD pattern with total confidence.
Have questions about your print settings or Seamly2D export? Drop them in the comments below—I read every single one and love helping fellow sewers get unstuck. 🧵
Did this help you? Save it to Pinterest or share it with a sewing friend who’s been putting off trying CAD pattern drafting!